

Preparing your home for solar panel installation is essential to ensure a smooth and efficient transition to renewable energy. This guide will walk you through the key steps to get your property ready, from assessing your roof’s condition to understanding local regulations and financing options. By following these steps, you can maximize the benefits of solar power, prevent delays, optimize your system's long-term performance and avoid common installation pitfalls.
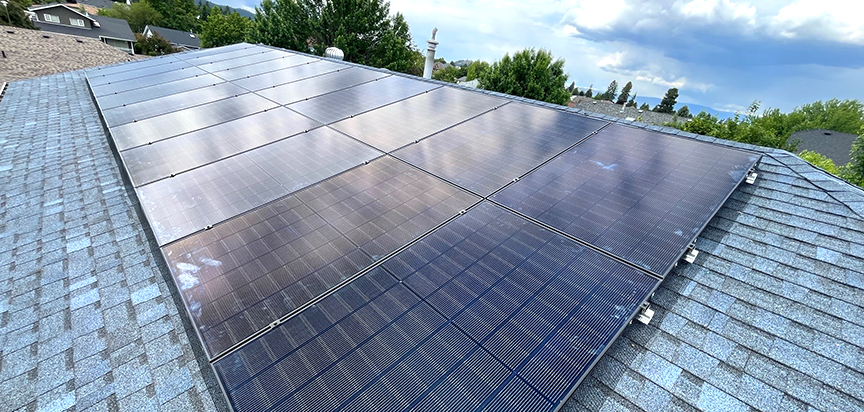
1. Evaluate Your Roof’s Condition
Your roof is the foundation of your solar system, so it must be in good condition before installation. Here are some things you need to check:
Roof Age & Structural Integrity: If your roof is nearing the end of its lifespan or has signs of wear (leaks, missing shingles, sagging areas), it’s best to consider repairs or replace them before installing panels. A professional inspection can help determine if any of these are needed.
Material Suitability: Most roofing materials, including composite shingles, rubber roofing, metal corrugated, metal standing seam or snap lock and TPO (Thermoplastic Olefin) roofing or EPDM (Ethylene Propylene Diene Monomer) roofing or modified bitumen roofing are compatible with solar panels. However, some require additional support or adjustments.
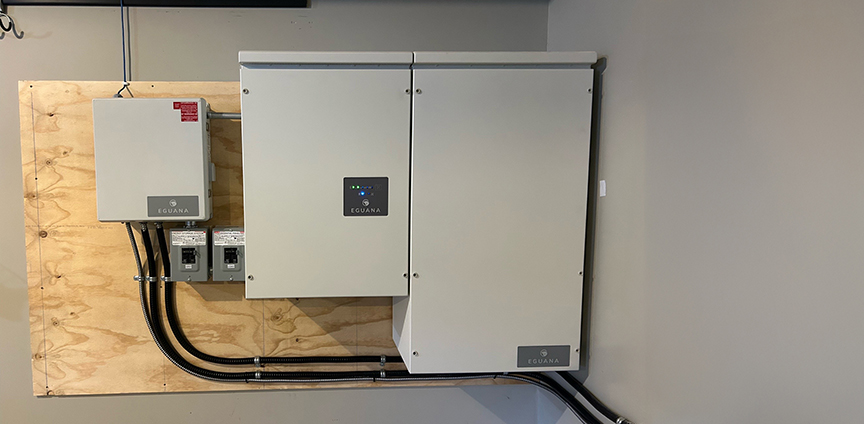
2. Ensure Your Electrical System is Solar-Ready
Solar panels generate electricity that must integrate seamlessly with your home’s electrical system. Your installer will assess:
Electrical Panel Capacity: Older panels, especially ones with less than the required amps, may need an upgrade to handle the additional power input.
Wiring & Safety Compliance: Some homes require rewiring or updated safety features to meet local codes.
Breaker Space: Solar systems require dedicated breaker slots so if your panel is full, you may need an expansion.
Grid Connection: If you’re opting for a grid-tied system, your utility provider may have specific interconnection requirements.
3. Assess Your Energy Needs
Before installing solar panels, it’s important to evaluate your household’s energy consumption. Review past electricity bills to determine your average usage. This will help your solar provider design a system that meets your energy requirements and provides optimal savings. If you plan to add high-energy appliances or an electric vehicle in the future, communicate this to your installer.
4. Assess Sunlight Exposure and Shading
For maximum efficiency, solar panels need direct sunlight throughout the day. You also want to identify and remove potential shading issues.
Trim Overhanging Trees: Trees casting shadows on your roof can significantly reduce energy output.
Check for Roof Obstacles: Chimneys, vents, and skylights might affect panel placement.
Panel Positioning: South-facing roofs typically produce the most energy, but east- or west-facing installations can also work well.
5. Understand Local Permitting and Regulations
Before installation, check with your local municipality and utility provider about required permits and regulations. Your solar provider will typically assist with handling the paperwork, but being informed about zoning laws, building codes, and HOA restrictions (if applicable) ensures a smooth approval process.
6. Research Incentives and Financing Options
Solar energy incentives can significantly reduce your upfront costs. Look into:
Provincial or Local Rebates: Some regions provide additional financial support for solar installations. Currently, BC hydro provides homeowners, businesses, indigenous communities, remote communities and social housing projects with incentives to install solar and battery storage systems.
Net Metering: This allows you to send excess energy back to the grid in exchange for credits on your electricity bill.
Solar Loans: Choose between purchasing and financing solar panels based on your budget and goals.
7. Clear the Installation Area
To help the installation team work efficiently:
- Move vehicles, patio furniture, and other obstacles from driveways and around the house.
- Keep pets indoors on installation day for their safety.
- Ensure attic spaces and electrical panel areas are accessible for wiring and setup.
8. Communicate with Your Solar Installer & Understand the process
Knowing what to expect on installation day can make the process smooth and stress-free.
Permits & Approvals: Your solar provider will handle necessary permits and paperwork with local authorities.
Installation Timeline: Most residential solar installations take 1-5 days, depending on system size and complexity.
System Testing & Activation: Once installed, your system will be inspected, connected to the grid, and activated.
Once installation is complete and your system is inspected and approved, you’re ready to start generating clean, renewable energy. Your installer will guide you on using monitoring tools to track your solar production and maximize efficiency.
Preparing your home for solar installation ensures a seamless process and optimal system performance.
Ready to make the switch? Contact Riverside Energy Systems today to get a free quote and start your solar journey.


.webp)
.webp)
.webp)
.webp)

